In this article, I will describe how to create a Hyper-V virtual machine on Windows 10 that can access the Internet. I will be creating a virtual machine containing Windows 7 on a Windows 10 machine, but the process is the same on Windows 8.1 as well; I have not tested it on any other version of Windows. First, open the Hyper-V Manager and click “New” in the Actions pane. Choose the “Virtual Machine…” option from the list that appears:

This will display the “New Virtual Machine Wizard”:

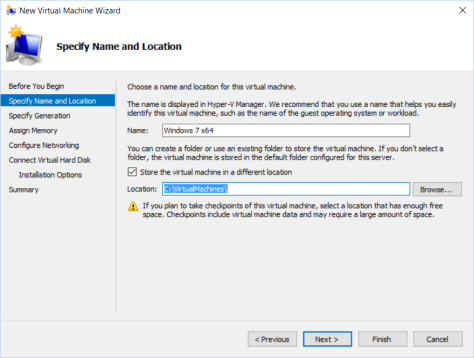
After reviewing the “Before You Begin” page, click “Next” and choose a name and location for the virtual machine; then click “Next” again:
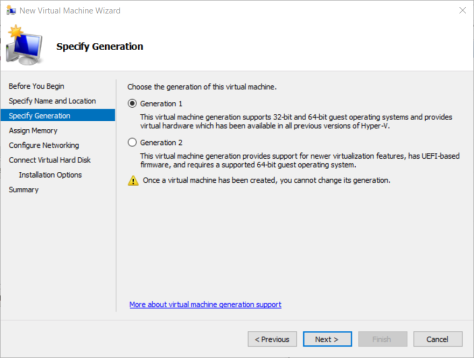
In the “Specify Generation” view, select “Generation 1″ and click “Next”. This cannot be changed after the virtual machine is set up. I have never needed to use Generation 2 virtual machines:
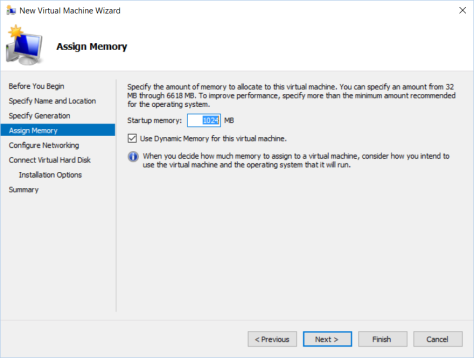
The “Assign Memory” view assigns the VM’s memory. I use the default in this view:
Choose “Not Connected” in the “Configure Networking” view, unless you already have a network setup that the VM can connect to. We will set this up later:

In the “Connect Virtual Hard Disk” view, tell the VM how to connect to a disk. I always create a custom disk for the VM and give it the default size:

Finally, in the “Installation Options” view, set how you will install an operating system. I always install directly from an ISO file:

Click “Finish” and let the process finish. You will notice that the VM cannot connect to the Internet after you install the operating system and try to do anything involving the Internet. To connect to the Internet, you must configure a network for the VM. To configure a network, which can be used by multiple virtual machines, click “Virtual Switch Manager” and create a virtual switch connected to an “External” network:

Set the network to the same network your computer uses, which in my case is the Intel(R) Centrino(R) Wireless-N 2230 network connector.
Next, you will need to set your VM up to use this switch. Go to the VM’s settings, available in the Action sidebar under the options for the real computer, and add a network adapter:

Set this network adapter to use the network switch you just created, and your VM should be able to connect to the Internet:

Click “Apply” or “OK” to finish configuring the VM; you are now ready to connect to the Internet from your new VM.


")


You must be logged in to post a comment.